UnrealFest 2018 talk about the stylized effects from the game RIME.
Video link: https://youtu.be/4FIDBeF_4SI

UnrealFest 2018 talk about the stylized effects from the game RIME.
Video link: https://youtu.be/4FIDBeF_4SI
This week I dedicated myself to fixing the toon shader since several suggestions and criticisms were given in the last revision.
One of the things mentioned was that there was a jittering effect and I found that this can be fixed by checking the Blendable Location to Before Tonemapping option. This, while a bit more expensive, prevents ghosting of the lines while the view is moving.


Spirited Away Ref


For this week I focus on adding the post process effect of the outline shader to the level of the train and the rig of our No face character.


Unreal engine has a Content Examples that show and explain many of the features that UE has. there's is this one level called MathHall that explains more visually how some of the functions node that UE uses work. I think it is super useful to understand well what this math is doing within the material and the engine.


https://docs.unrealengine.com/4.27/en-US/Resources/ContentExamples/MathHall/
Marketplace Link:
https://www.unrealengine.com/marketplace/en-US/product/content-examples
For this week it was more than anything to polish the materials that were already in the project.
For the toon shader, it was to fix the problem that the border always kept the same thickness regardless of the distance from the camera (player view) so that's what I focused on this week.

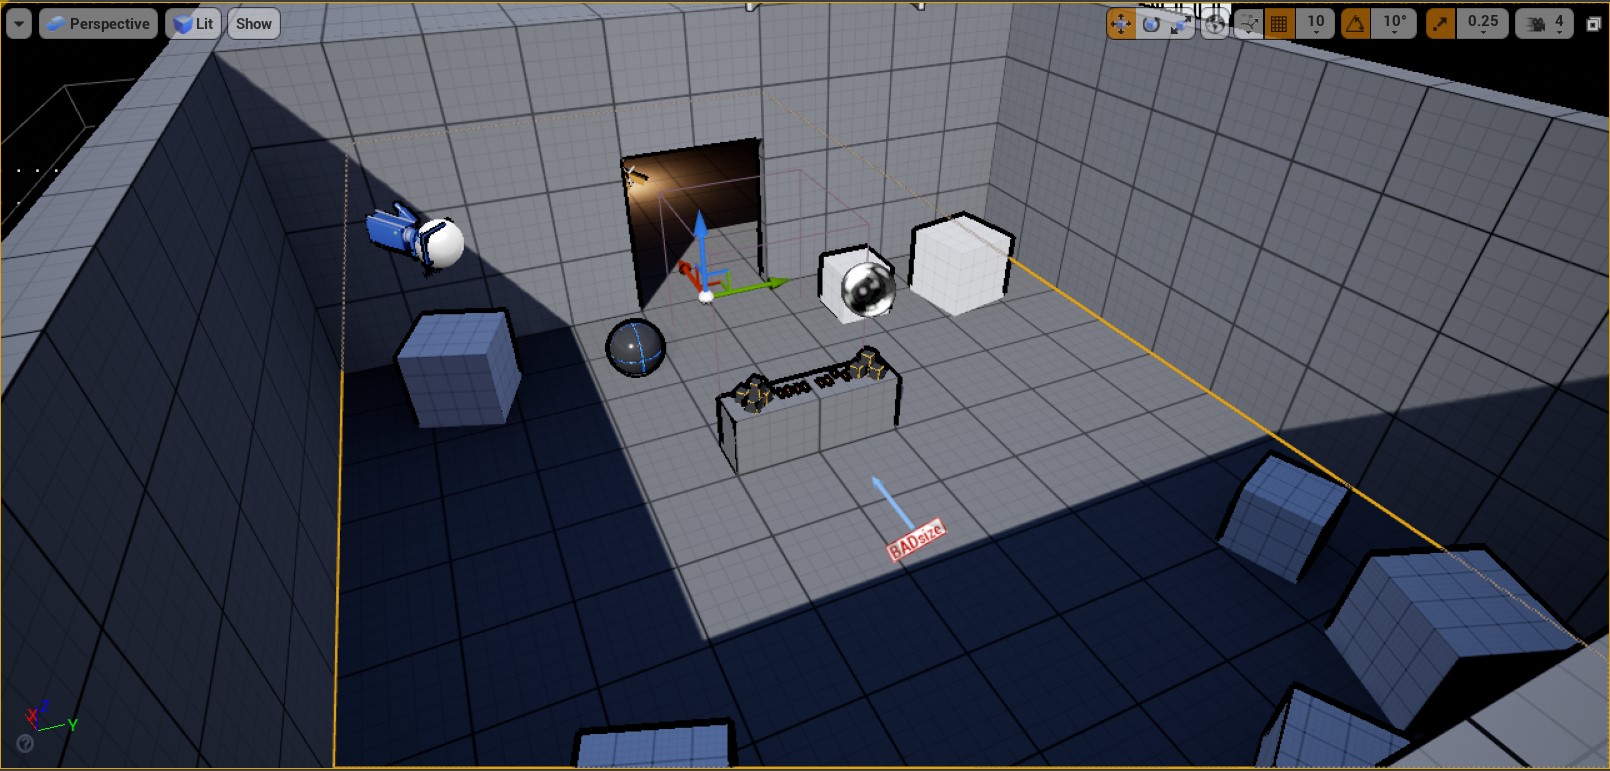


The only issue is that now there are times that a white border appears on the object if the depth value is to close to another object, but for now it works.
For this week I worked on the materials, replace the old prop token rig with the new prop token and look for the scene. Also with getting the hand blueprint and prop snap blueprint.
One issue that we encountered is that since this week we started to add more of the prop elements and train scene to the level, we realized that some of them were bigger that the proxy props used for the first week test and setup of the VR game. And so we had to scale them back on maya and let our team know of using the proxies as scale reference.


I created a master material to easier to maintain the and create the materials that suit the asset.


I separated the nodes on the three maps that Substance exports while also giving the options of using a bas color instead or a default value for the metallic and roughness. Maybe no as necessary, but in case of wanting to tile a texture it can also be done.


The second was starting with the toon shader. On the las RPP project I played a little with the Post Process Material and so I went from there. In most of the examples I found on the internet they used the scene depth node to get the outer lines. This node gives you a per pixel value that represents the distance from the camera plane to a mesh in the scene. using this to detect the edges from the scene and then draw the outlines.
pretty much with this node for each pixel on the scene you calculate the left, right, up and down neighbor pixel and then check the depth of this five to get the variation that happens around the pixel been calculated. If this variation is bigger then this pixel is colored black since is where a separations of the object would be compared to the other elements surrounding it.


It was super interesting to learn this while also learning that you can create functions for material which I had no idea. Will like to keep on working with this on the next weeks an then be able to see how to make the scene world normal and add lines on the prob edges. Might probably need to research more of this since the 'Forward Shading' render does not support the 'scene texture world normal' node. Don't want to change the renderer method since forward renderer gives faster baseline faster rendering passes, which I can assume are very important for a better performance in VR.
This tutorial explains it better the formula for depth detection,

The prop snaping gave more issues since it would snap to the finger bone so my teammate and I had to test out different positions of the two bath token props we have and see what worked.

While testing out, we realized that by changing the grab type to 'snap' would use the finger bone as the snap point in the hand, but the 'VRHand' would use the root bone. In the next week we would like to understand better this 'GrabComponent' blueprint to make it work better for our hands without having to do so much blindly positioning the prop in the right positions of the hand.

Some of the effects that I made for some RPP projects. Had a lot of fun learning the Unity particle system while also making these assets that added more to the gameplay of the games. Some, like the wind, didn't made it to the game but this made me learn of setting what are priorities and what's best for the time and scope of the game.
Wind particle effect:


The sprite smoke used:

Result in Unity:


For final delivery I was mainly polishing up the VFX and adjusting the times to fit the final animation. One of the first fix was changing ...


